Contact Us
Salt Lake City Office
1152 W 2400 S,
West Valley City, UT 84119
St. George Office
368 Commerce St Unit 30-31,
Hurricane, UT 84737
Ogden Office
1805 2900 S Unit #1,
Ogden, UT 84401
Phone: (801) 355-4433
License: #12559394-5501
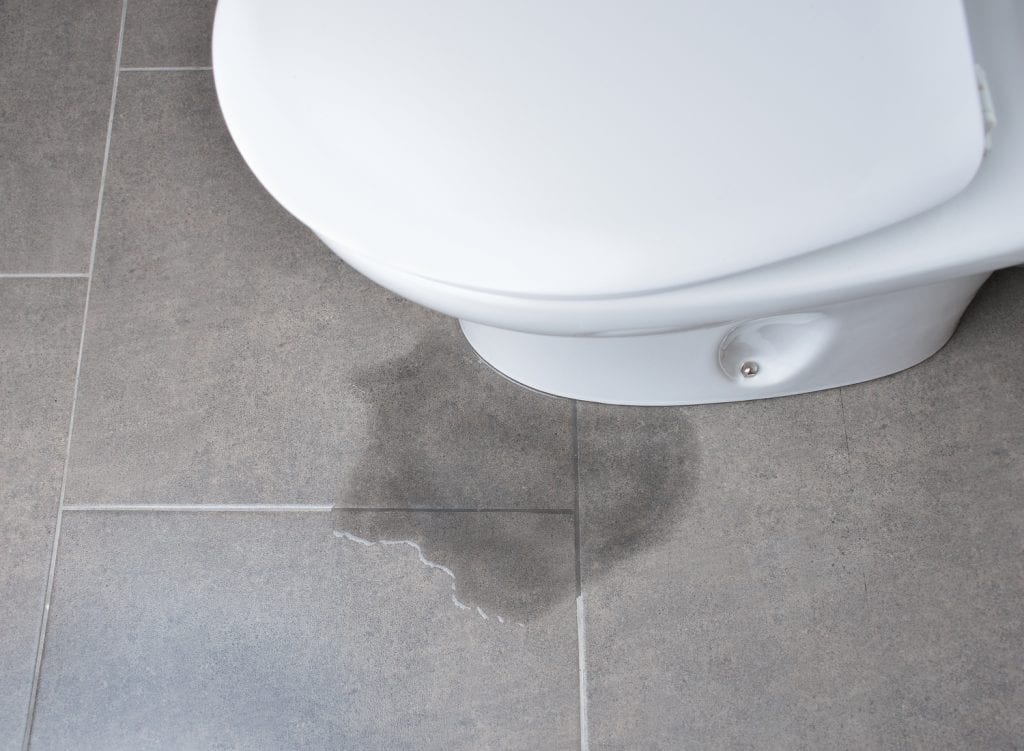
Walking into your bathroom and noticing a puddle of standing water surely isn’t a routine phenomenon for anyone, but when it happens, the problem should be addressed immediately. Determining the source of the leak is probably a good place to start. If you have a toilet leaking around the base, there are a few things you can do before calling a professional.

It should hopefully go without saying, but refrain from using or flushing the toilet. Doing so could possibly worsen the leak or cause more damage. Shut off the water going into the toilet by using the knob located behind the toilet. The water from a toilet leaking on the floor can damage the floor itself or the ceiling below. To make matters worse, the water is of the dirty toilet variety, so cleaning it up is of the utmost importance. Dirty water like this can cause health problems if not cleaned properly.
If you’re ready to tackle the situation on your own, grab your tools and get ready to work. If you’re sure that water is leaking from the base of your toilet and you’ve turned off the water source and cleaned up the mess, then there are several possible fixes you can manage on your own.
This is the first thing to check because it’s the easiest to fix. The tee bolts are located on the base of the toilet underneath the plastic caps. They keep your toilet fastened to the ground and sealed to the flange and drainage pipe. Test the bolts to see if they are loose or broken. If the bolts are loose, this could be the source of the leak. Before tightening the bolts, attempt to reposition the toilet. A toilet that is not level or centered could continue to leak water. Tighten the bolts with a wrench and replace plastic caps. If the bolts continue to spin or appear broken, head to the hardware store for replacement bolts.
If you’ve successfully tightened the tee bolts and repositioned the toilet, but you still have water leaking from under the toilet, you may have a damaged wax ring. Replacing the wax ring is not difficult, but does take some effort. You’ll need to remove the toilet from the floor in order to fix this issue. Fixing the wax ring on your toilet can be achieved by following the steps below:
This can be done at most major hardware stores. Ask someone if you aren’t sure what kind to buy.
After the water has been shut off, flush the toilet to remove excess water from the upper tank and the lower bowl. If there is leftover water in the upper tank, remove the fill valve by unscrewing the nut holding it in place. Water will spill down from the hole, so catch it with a bucket. Any leftover water can be plunged out of the bowl.
Start by removing the water supply line from the toilet. Then work on loosening and removing the tee bolts altogether. Gently remove the toilet from the flange and drain pipe, thus breaking the seal. You may want to have someone help. Lay the toilet on its side.
This is the part that’s been causing the trouble, so pull it out and have a trash bag ready for disposal. You may need a putty knife to remove extra residue.
Place your new wax ring over the flange and secure new tee bolts if you have them. If your old ones still do the job, go ahead and use those.
Align toilet with tee bolt holes and press the toilet down on the new wax ring to create a tight seal. Center and level the toilet, then tighten the tee bolts. Reconnect the water valve and turn the water on. After the upper tank is full, give it a flush. Look for any leaks.
If you’ve done what you’ve needed to do to stop the leaks, you are probably feeling pretty good about the state of your bathroom. Taking the next step of prevention could be the difference between doing this again in the future or not.
Using caulk to surround the base of the toilet should not be considered a leak barrier, but rather a way to help secure the toilet to the floor. If you have worked to position the toilet properly and secured the tee bolts, caulking the base solidifies your work. Caulk also prevents water from other sources entering the area below the toilet and causing complications such as mold or unpleasant smells. Follow these simple steps to caulk the base of your toilet.
A toilet leaking around the base can be an overwhelming home maintenance issue for anyone. Often the fix can be simple, but sometimes it requires some serious time and effort.
The tips outlined here should be enough to get the job done, but when it’s time to turn it over to the professionals, know that you have great resources available at Whipple Service Champions. Contact us today for any plumbing needs.